Sleep Systems / Sleeping pad construction
Foam · Air · Self-inflating
Choose the construction that fits the way you camp.
Compare packed bulk, cushioning, setup and the consequences of a puncture. Check warmth with the exact pad’s insulation rating.
In the foam vs inflatable sleeping pad decision, start with what you can carry and what you can comfortably sleep on. Closed-cell foam gives you a simple mat with no inflation step. An air pad can pack small while providing a thicker sleeping surface. A self-inflating pad combines foam and air, offering another support feel at the cost of more packed bulk in many designs.
None of those constructions automatically wins for warmth or comfort. Compare the actual model’s R-value, dimensions and complete packed kit, then try your normal sleeping position. If you already know you want a pad for sleeping on your side, use our separate side-sleeper sleeping pad guide to narrow the model choices.
For the full selection process, start with how to choose a sleeping pad to check trip conditions, insulation, dimensions and the complete packed kit.
The quick choice
Closed-cell foam
Shortlist it when simple setup and avoiding an inflatable chamber matter more than a plush surface or a small packed bundle.
Air pad
Shortlist it when packed size and adjustable cushioning are important, and you are prepared to inflate, protect and maintain the pad.
Self-inflating
Shortlist it when you want to compare a foam-supported feel and can accommodate the exact model’s rolled size.
Foam, air and self-inflating pads compared
| Decision | Closed-cell foam | Air pad | Self-inflating |
|---|---|---|---|
| Packed size | Retains the bulk of the foam, folded or rolled. | Often packs into a relatively small bundle once deflated. | The foam core still takes space when rolled; models vary substantially. |
| Support and feel | A relatively thin, firm surface; no air pressure to adjust. | Adjustable firmness; chamber shape and thickness change the feel. | Foam and air work together; firmness still needs checking. |
| Setup | Unfold or unroll it. | Inflate using the method the manufacturer specifies. | Let the foam expand through the open valve, then adjust as directed. |
| Damage planning | No inflatable chamber to lose pressure, but the foam can still wear or tear. | A leak can reduce support; carry suitable repair supplies. | The shell and valve must also hold air; do not treat the foam core as leak-proof. |
| Warmth | Check the specific pad’s published R-value. | Check the insulation and R-value; thickness alone is insufficient. | Check the specific model’s rating rather than assuming all foam cores are warm. |
| Carrying priorities | Check the dimensions of the folded or rolled mat. | Count the pump sack, repair kit and storage bag if you will carry them. | Compare the actual packed roll with the space in your car or backpack. |
Closed-cell foam: simple setup, visible bulk
A closed-cell foam mat does not need you to fill an airtight chamber before sleeping. Unfolding it is straightforward, and there is no valve or inflation routine to manage. That simplicity is the main reason to compare it; it does not establish that you will find it comfortable.
The tradeoff is easy to see before buying. The foam remains present when packed, so measure the folded or rolled shape rather than looking only at weight. Check where it will go in your vehicle or on your backpack and whether that arrangement interferes with movement or access.
As a concrete example, Therm-a-Rest’s Z Lite SOL uses folding closed-cell foam. Its listed insulation rating belongs to that product, not to every mat that looks similar. A basic foam mat and a more insulated design should not be treated as equivalent because both fold.
Try lying on foam for long enough to assess the feel in your usual sleeping position. If you need more cushioning at the hip or shoulder, compare another construction or assess a complete layered setup rather than expecting a firm mat to change character overnight.

Air pads: compare the packed kit and the sleeping surface
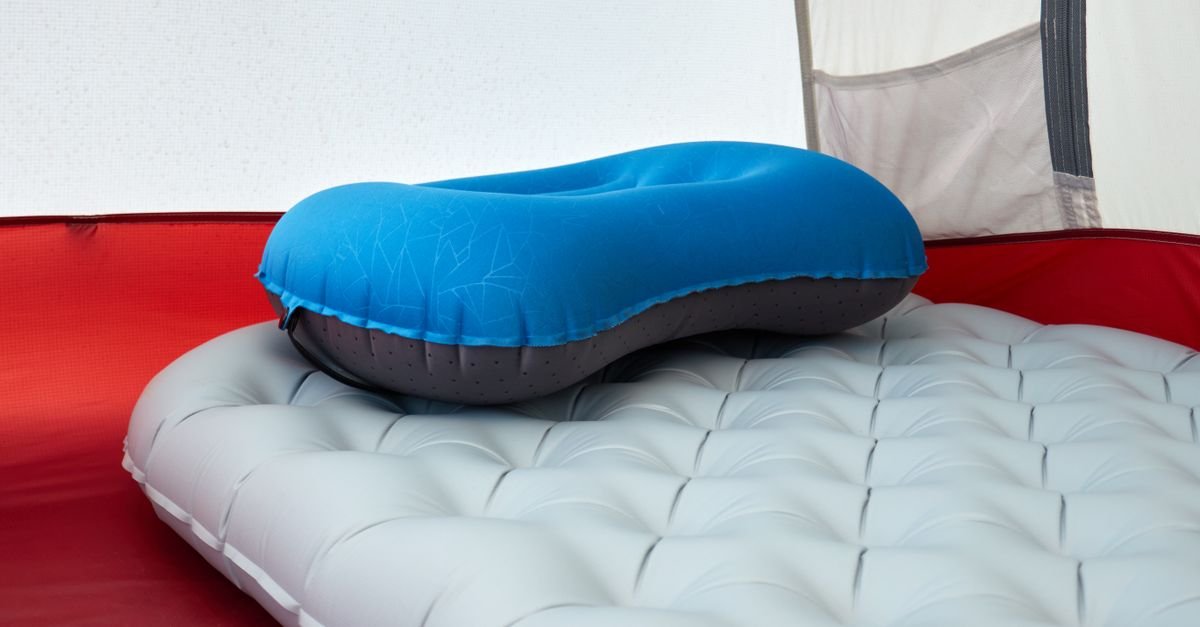
An air pad forms its sleeping surface when inflated. Deflating it can greatly reduce the packed volume, which makes this construction worth comparing when space inside a backpack matters. The exact chamber layout, fabric, insulation and dimensions still distinguish one model from another.
Adjusting firmness changes how the pad feels, but there is no universal inflation level for everyone. Follow the instructions and try the position you actually sleep in. Check whether your hip touches the ground when turning and whether your arms and knees remain on the usable surface.
Count the pieces you will take with it. A pump sack, field repair supplies and storage bag may be part of the practical kit, even when a headline weight describes only the pad. Check what is included and whether the listed weight is for the exact size you need.
Insulated air pads and uninsulated air mattresses are different choices. A thick sleeping surface does not prove that it resists heat loss well. Look for a documented model-specific rating instead of inferring warmth from height or an all-season product name.
Self-inflating pads: foam plus an airtight shell
A self-inflating pad contains open-cell foam inside an airtight shell. Opening the valve allows the foam to expand and draw in air. The pad may still need a final adjustment using the method specified by its manufacturer; self-inflating does not mean it always reaches your preferred firmness without help.
Cascade Designs explains the foam, shell and valve mechanism. The time and amount of assistance needed can vary, including after a pad has been stored tightly compressed. Build setup into your first at-home check rather than discovering the process at the campsite.
This construction is useful to compare when you prefer the support feel of foam and air together. Some designs are suited to carrying on foot; others prioritize a roomier car-camping surface. Compare the actual roll size and weight rather than treating all self-inflating pads as one bulky category. For vehicle-access trips, our camping mattress comparison puts four specific sizes and packed bundles side by side.
The shell and valve remain important. A puncture can change how the pad supports you, and the remaining foam should not be assumed to preserve the pad’s full performance. Learn the approved repair method and check the pad before a trip.
Comfort: try the whole sleep setup
Choose enough length and usable width for the way you sleep, then try the pad with your bag and pillow. A pillow that feels right on a firm mat may feel different when your shoulder sinks into an air pad. Turning room also depends on your sleeping bag’s cut.
Our guides to sleeping bags for side sleepers and camping pillows cover those separate decisions. Settle support and ground insulation before treating a pillow as the fix for an uncomfortable pad.

Keep the R-value decision separate
R-value describes resistance to heat flow through the pad. A higher comparable value indicates more insulation in the test; it is not a personal comfort score or a direct air-temperature limit. Construction and thickness alone cannot provide the missing rating. Use our R-value guide to compare insulation ranges and understand how layered pads add up.
The ASTM F3340 test-method description covers different mattress constructions and explains the limits of transferring laboratory results to actual sleeping conditions. Your sleeping bag, clothing, posture, pad coverage and conditions also form part of the sleep system.
For this comparison, the useful rule is simple: narrow the construction for packing and support, then check the exact pad’s insulation separately. Do not use a generic summer or winter label as a promise of warmth.
Measure the tent layout before ordering
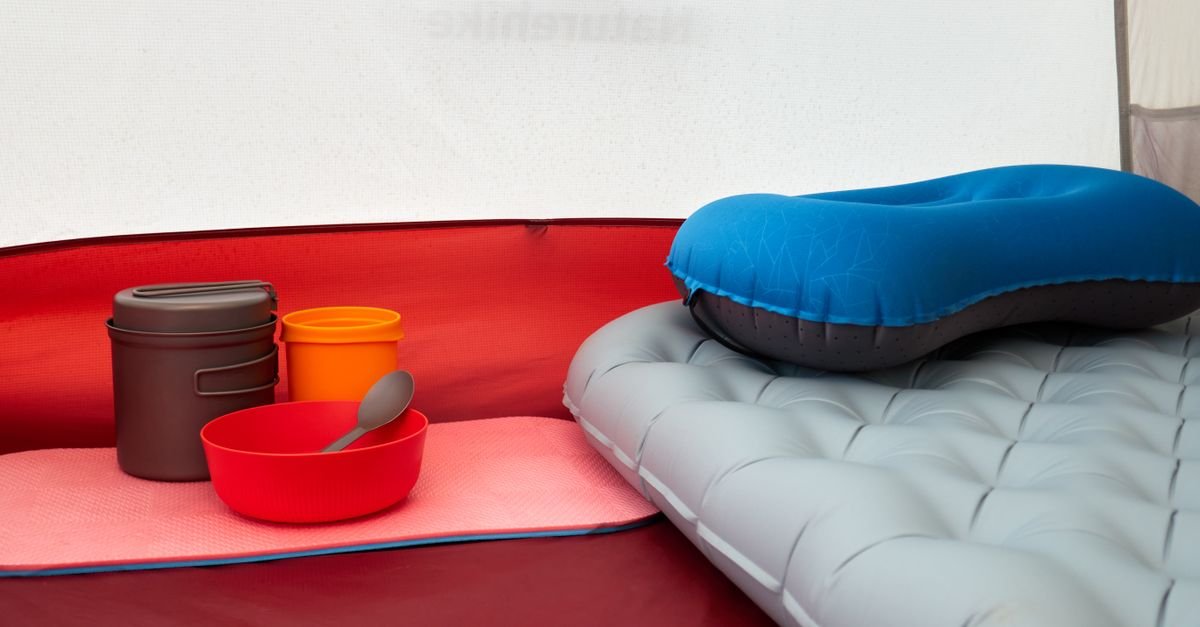
Lay out the dimensions of every pad that needs to fit inside the shelter. Check the usable floor shape and clearance near sloping walls, not only the tent’s advertised person count. A thicker mattress can move a sleeping bag closer to the tent wall.
Use the car-camping tent comparison or our guide to backpacking tents for tall sleepers for the separate shelter decision. For the whole vehicle-based kit, return to the car camping checklist.
Five checks before your first night
- Set it up at home. Follow the exact inflation, valve and firmness instructions.
- Try your sleeping position. Assess support, turning room and pillow height together.
- Check the insulation. Use the documented rating for the exact model and size.
- Pack the complete kit. Include the pump or repair supplies you intend to carry and measure the packed shape.
- Read the care instructions. Clean and dry the pad, then store it as the maker directs rather than leaving it tightly compressed by habit.
For example, Sea to Summit’s storage guidance recommends open valves and loose or flat storage for its air and self-inflating mats. Use the instructions for your own product; one brand’s guidance is not a substitute for another pad’s manual.
Questions about sleeping pad types
Is a foam pad warmer than an inflatable pad?
Not necessarily. Compare the exact products’ documented insulation ratings using a comparable method. A construction label alone does not establish the warmer pad.
Does a self-inflating pad still need a pump?
It may need a final firmness adjustment. Follow the product’s specified method and check which pump, if any, is compatible. The foam’s expansion is not a guarantee that the pad will reach your preferred sleeping firmness unaided.
Can I put foam underneath an air pad?
It can form part of a layered system, but check the complete arrangement’s insulation, coverage, stability, packed size and instructions. Count both pieces when planning weight and space.
Which construction is best for side sleepers?
Choose by the support and space you can confirm in your own sleeping position. There is no construction that guarantees comfortable hip and shoulder support for everyone. Use the separate side-sleeper guide to compare specific models.
Sources and approach
This is a construction comparison based on the linked manufacturer guidance and the REI sleeping-pad overview. The checklists and scenarios are editorial decision aids. We did not run original sleep, puncture or thermal tests. The photographs are licensed stock illustrations of camping sleep setups, not evidence of product testing by The Bridge.